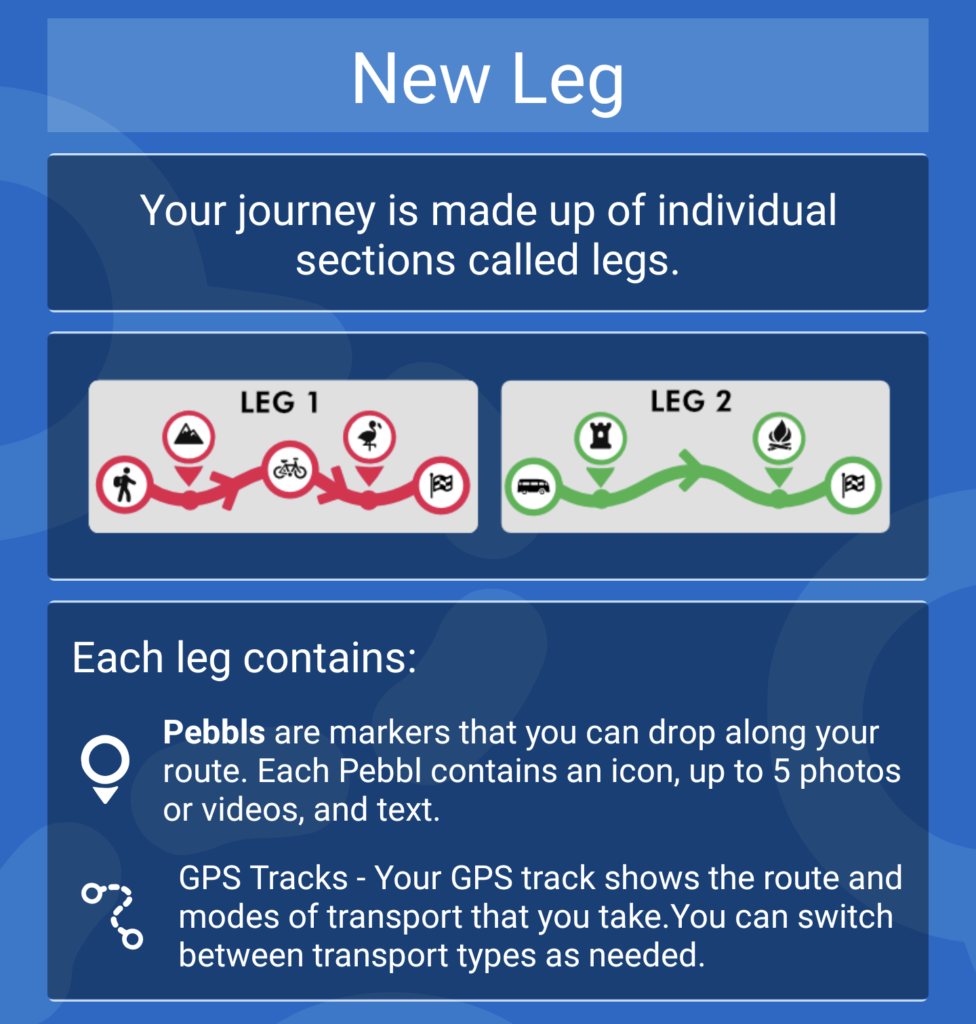
Journey Legs
Your journey is made up of individual sections called legs. This page will guide you through creating a new leg for your journey. If this is your first leg then you will be automatically taken to the “New Leg” screen – otherwise you can press the “New Leg” button on the “Journey Details” screen.
Step 1 – Leg Title
You need to provide the title for this leg of your journey.

You can optionally create your new leg from an existing GPX file (from another app or device).
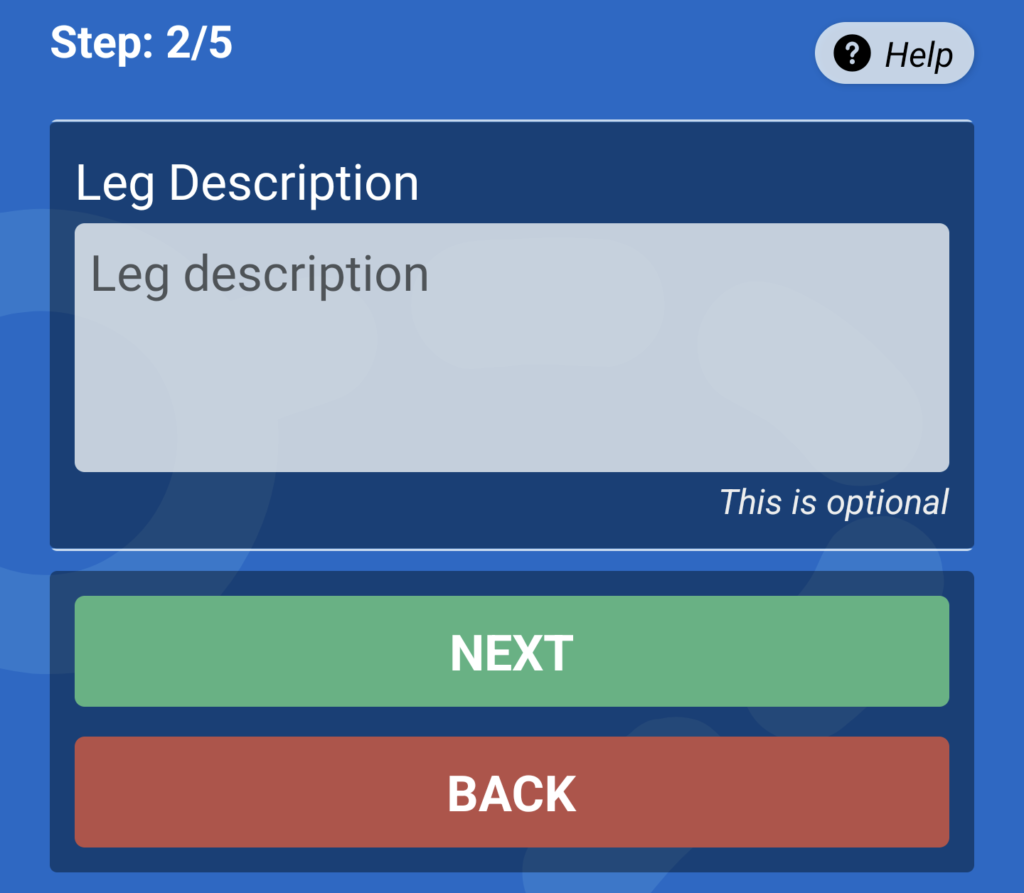
Step 2 – Leg Description
The description field is optional and allows you to provide additional information about the leg. Keep it concise and informative.
Step 3 – Location Mask
This allows you to choose a radius around the start and end points of your leg within which the track drawn on the map will not appear – more details.

Step 4 – Mode of Transport
Select the mode of transport that you will be using to begin your leg. You can switch between different modes of transport as you travel.

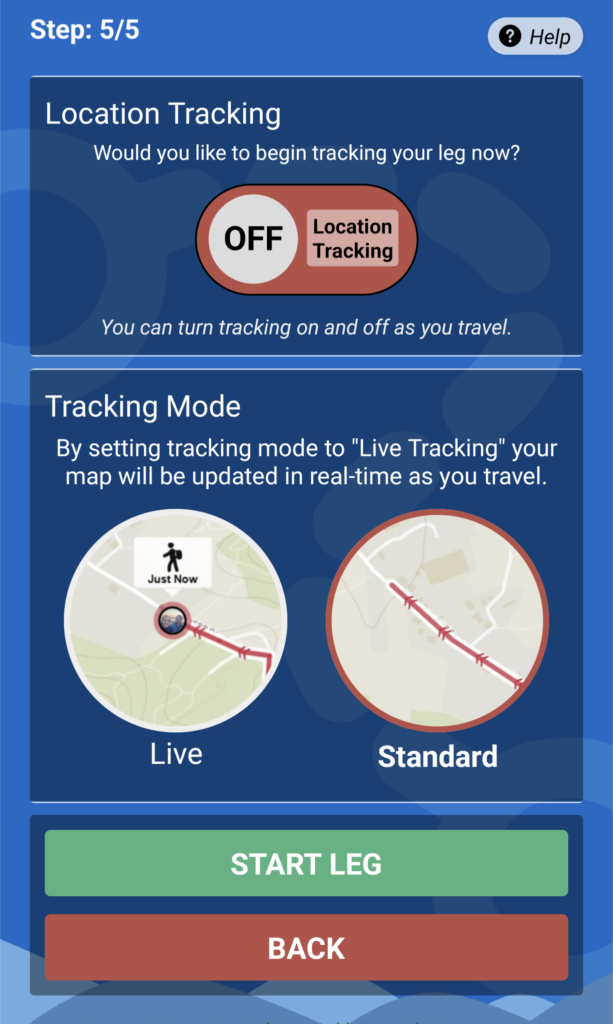
Step 5 – Location Tracking
Choose whether to begin tracking your route right away. You can switch tracking on and off as needed while traveling.
If you’re an Explorer Member, you can enable live location tracking mode which will update your position on the map in real-time. In standard mode your online map is updated roughly every 15 minutes when connected to the internet.
Place a Pebbl
Once you have created your new leg you can then place a pebbl.